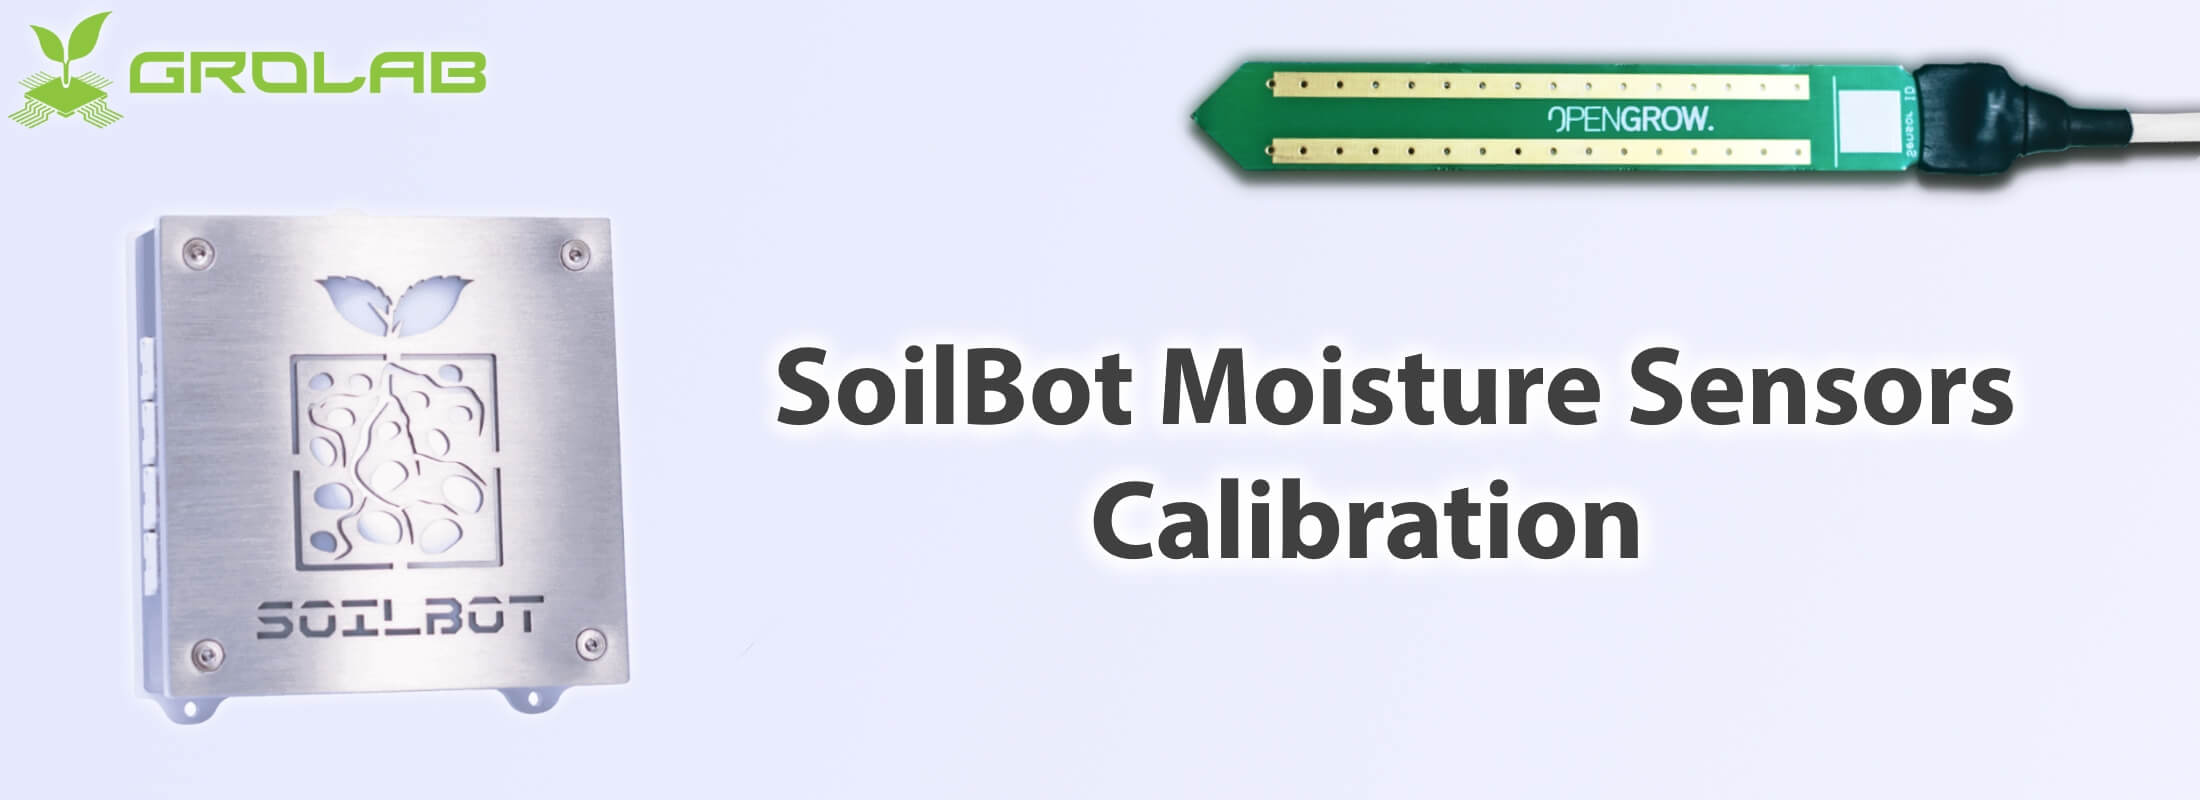
How to Calibrate GroLab™ SoilBot Moisture Sensors
GroLab™ system has several distinct modules, sensors and devices. One of those modules is GroLab™ SoilBot.
SoilBot supports several sensors and flood detectors, proving all the tools to fully monitor the plants substrate.
On today’s GroLab™ Tips & Tricks post we will explain how to calibrate SoilBot moisture sensors. Those sensors constantly analyze the amount of water in the substrate, from 0% (dry) to 100% (wet).
Calibrating a SoilBot Moisture Sensor
After installing the GroLab™ modules and GroLab™ Software, one of the first things to do is to configure devices and sensors that you connected to the modules. For the SoilBot’s moisture sensors, one of the tasks is to calibrate them.
To calibrate SoilBot’s moisture sensor follow this steps:
1 – Open GroLab™ Software (A), authenticate (B) and proceed to the main menu (C);

2 – Access modules section (A), then select SoilBot tab (B), choose the SoilBot (that has the connected moisture sensor to calibrate) (C) and then click on the desired moisture sensor (D);

3 – If the moisture sensor is already configured skip to step 4. If not, set his type (A, B & C) and name (D);

4 – Click on “Calibrate Sensor” button to access the calibration wizard (A);

5 – Before doing this step clean the moisture sensor with a dry clean cloth. Then leave it in open air and wait at least 1 minute for the sensor value to stabilize. After that, on the GroLab™ Software, press the “Go” button corresponding to the moisture min (A), wait calibration to finish and then press ok button (B);

6 – Before doing this step insert the sensor on a cup of water or on the desired substrate fully saturated. Then wait at least 1 minute for the sensor value to stabilize. After that, on the GroLab™ Software, press the “Go” button corresponding to the moisture max (A), wait calibration to finish and then press ok button (B);

7 – Your moisture sensor is now calibrated. You can insert it on the desired substrate to start monitoring the moisture level. Feel free to repeat the calibration at any time. Now click on the “Save and Close” button (A) and then on sensor configuration wizard click on “Save and Close” button (B).

After calibrating the desired moisture sensors it is time to use them. GroLab™ system provides several options to use those sensors, like auto-feeding based on substrate’s moisture and shutdown the irrigation in case of flood. If you want to learn more check GroLab™ video tutorials or GroLab™ Tips & Tricks.

waybill template
A big thank you for your article. Much thanks again. Much obliged.